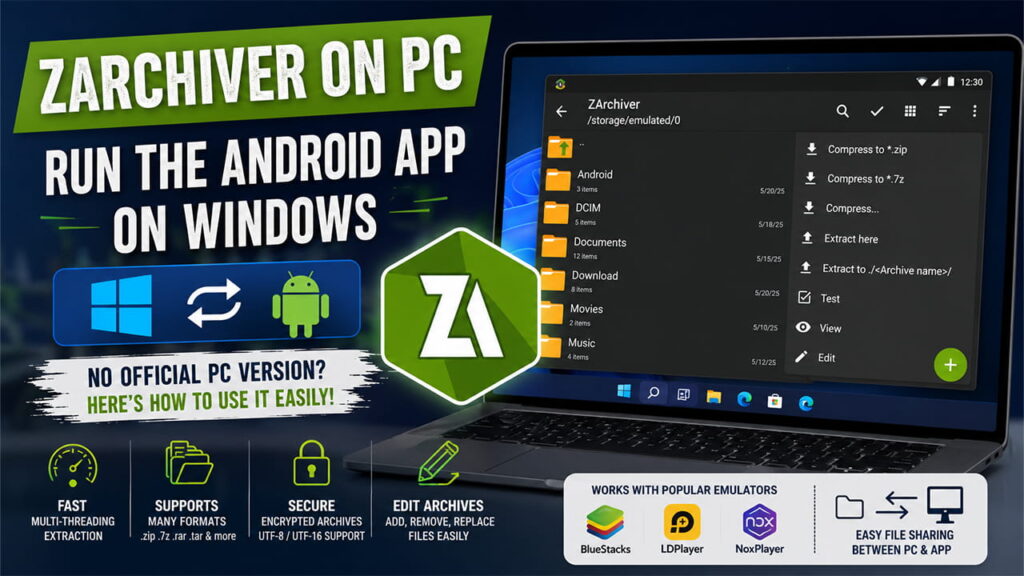
If you have ever managed heavily compressed files, modded mobile games, or dealt with multi-part .rar or .7z archives on an Android device, you are likely familiar with ZArchiver. Developed by ZDevs, it is widely considered the gold standard for mobile archive management due to its multi-threading support, clean interface, and lack of intrusive ads.
This raises an obvious question for desktop users: Can you get ZArchiver for PC natively?
The short answer is no. There is no official, native Windows (.exe or .msi) version of ZArchiver developed by ZDevs. Any website claiming to offer a direct “ZArchiver for Windows” native installer is likely hosting unverified or malicious files.
However, you can easily run ZArchiver for PC as an Android app on Windows using virtualization technology. This guide will walk you through exactly how to set it up, troubleshoot performance, and evaluate native Windows alternatives that offer the exact same functionality.
Why Use ZArchiver? (The Underlying Technology)
On mobile, ZArchiver is prized because it natively handles complex desktop-grade compression parameters. When run on a PC through an emulation layer, it maintains these exact capabilities:
- Advanced Multi-Threading: It dynamically scales workloads across your PC CPU cores, significantly speeding up decompression times for massive archives.
- Deep Extension Support: It extracts exotic formats like
.bzip2,.lz4,.tar.st,.wim,.ecm,.dmg, and.eggwithout needing separate plugins. - In-Archive Editing: You can add or remove individual files directly inside
.zip,.7z,.tar,.apk, and.mtzstructures without extracting the entire archive first. - Complete Security Tracking: It supports header encryption and full UTF-8/UTF-16 encoding, ensuring complex passwords with national characters don’t break during extraction.
How to Run ZArchiver on Windows Using Android Emulators
Since ZArchiver is compiled specifically for the Android runtime layer (.apk), you need an Android Virtual Device (AVD) environment to execute it on Windows 10 or Windows 11.
Method 1: Using BlueStacks (Best for General Users)
BlueStacks is one of the most stable and well-supported Android environments for desktop architectures.
- Download the Emulator: Navigate to the official BlueStacks website and download the latest installer for BlueStacks 5.
- Install and Initialize: Run the installer. Once installed, launch the engine. Note that the first boot can take a few minutes as it configures its engine to your GPU settings.
- Sign In: Open the Google Play Store icon within the BlueStacks home screen and log into your Google Account.
- Deploy ZArchiver: Search for
ZArchiver(published by ZDevs). Click Install. - Grant Storage Permissions: Launch ZArchiver from your emulator home screen. On the first launch, Android will prompt you to grant storage access. Select Allow so the app can view and modify files.
Method 2: Using LDPlayer or NoxPlayer (Lightweight Alternatives)
If you are running an older PC or a low-spec laptop, LDPlayer or NoxPlayer consume fewer system resources.
- Download and install LDPlayer from its official repository.
- Open the built-in LD Store or Google Play Store.
- Search for ZArchiver and click install.
- Alternatively, you can download the clean ZArchiver
.apkfile from a trusted repository like APKMirror or Uptodown, then simply drag and drop the.apkfile directly into the emulator interface to install it instantly.
How to Share Files Between Your PC and ZArchiver
Running ZArchiver inside an emulator means it operates within a sandboxed file system. To extract files that live on your actual Windows hard drive, you must use the emulator’s Shared Folder mechanism.
| Emulator | Windows File Path | ZArchiver Internal Path |
| BlueStacks | C:\Users\<Username>\Pictures\ or Documents\ | /storage/emulated/0/DCIM/SharedFolder/ |
| LDPlayer | C:\Users\<Username>\Documents\LDPlayer\Pictures\ | /storage/emulated/0/Pictures/ |
Step-by-Step File Management Flow:
- Move the compressed archive (e.g.,
game_mod.7z) into your PC’s dedicated emulator shared folder. - Open ZArchiver inside the emulator.
- Navigate to the internal path listed in the table above.
- Perform your extraction, editing, or compression tasks directly within that folder.
- The processed output will instantly appear back on your actual Windows desktop.
Troubleshooting Common Setup Issues
Issue 1: “App Not Responding” or Freezing During Large Extractions
- The Cause: The emulator hasn’t been assigned enough hardware resources to handle deep multi-threaded compression algorithms.
- The Fix: Open your emulator’s Settings (gear icon) -> Performance. Ensure that CPU Allocation is set to at least 4 Cores, and Memory Allocation is set to a minimum of 4GB (High). Restart the emulator.
Issue 2: Cannot See Windows Files Inside ZArchiver
- The Cause: Android storage permissions were skipped during the initial app launch, or you are looking in the wrong directory root.
- The Fix: Inside the emulator, go to System Settings -> Apps -> ZArchiver -> Permissions -> Enable Storage/Files and Media. Always look for files inside the designated shared folder path, never the system root (
/).
Native Windows Alternatives (Skip the Emulator)
If you only wanted ZArchiver because you need to handle complex archive formats or multi-part splits on your PC, you do not actually need to run an Android emulator. There are incredibly powerful, open-source native Windows apps that match or exceed ZArchiver’s capabilities without the performance overhead.
1. NanaZip (Best for Windows 11)
NanaZip is a modern, open-source fork of the classic 7-Zip project designed explicitly for Windows 11.
- Why it matches ZArchiver: It integrates seamlessly into the modern Windows 11 right-click context menu. It supports advanced algorithms like Zstandard (zstd) and Brotli, which are often utilized in modern compressed files.
2. 7-Zip (The Gold Standard)
7-Zip is completely free, open-source, and arguably what ZArchiver was modeled after conceptually.
- Why it matches ZArchiver: It features a near-identical dual-pane archive directory structure, supports high-ratio multi-threaded LZMA/LZMA2 compression, and handles password-protected files flawlessly with AES-256 bit encryption.
3. PeaZip
For users who prefer a modern graphical user interface over 7-Zip’s retro styling, PeaZip is an excellent choice.
- Why it matches ZArchiver: It provides extraction support for over 200 distinct file extensions and features a built-in secure deletion tool to permanently erase files after compression.